
A Guide to South Africa’s 1879 Anglo-Zulu War
The Politics, Heroes, and Cataclysmic Clashes That Defined KwaZulu-Natal
Across the windswept grasslands of KwaZulu-Natal, stone cairns and silent hills hold the echoes of one of history’s most dramatic military confrontations: the Anglo-Zulu War of 1879.
Fought over a brief six-month span, this clash pitted the world's preeminent industrial empire against the disciplined martial kingdom of the amaZulu. It produced both the greatest tactical upset ever suffered by the British Army against an indigenous force and one of history's most celebrated last stands.
As we prepare to walk these battlegrounds with David and Travel Prospects, here is the definitive primer on how this war began, the figures who led it, and the fateful clashes that forever shaped South Africa.
Why Did It Happen? The Roots of an Engineered War
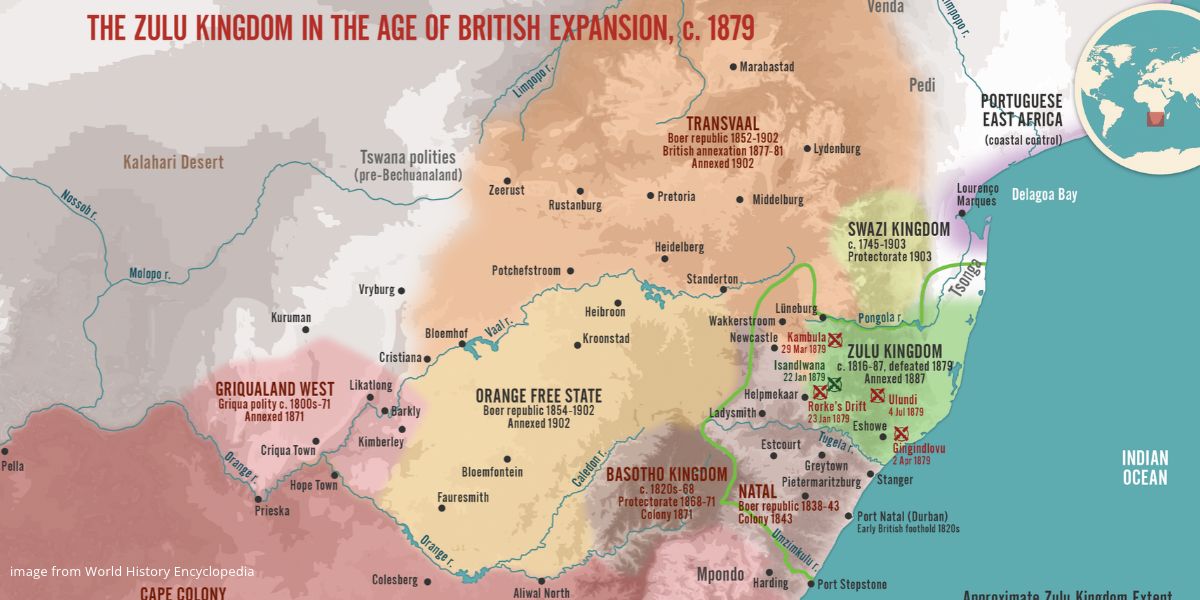
In 1879, the British Empire was bent on creating a single confederation of colonies and Boer republics across Southern Africa, mirroring their recent success in Canada. Standing directly in the path of this grand design was the sovereign, prosperous, and militarily formidable Zulu Kingdom.
The war was largely manufactured by one man: Sir Henry Bartle Frere, the British High Commissioner for Southern Africa. Acting largely without London’s knowledge or authorization, Frere issued an impossible 30-day ultimatum in December 1878 to the Zulu monarch, King Cetshwayo kaMpande.
The ultimatum demanded that Cetshwayo dismantle his entire ibutho (regimental age-grade) military system, disband his armies, and permit a British resident to oversee his governance. Cetshwayo sought peace, but capitulation meant the destruction of Zulu society. When the deadline passed on 11 January 1879, British forces crossed the Buffalo River into Zululand.
The Key Players in the Zulu War
Your content goes here. Edit or remove this text inline or in the module Content settings. You can also style every aspect of this content in the module Design settings and even apply custom CSS to this text in the module Advanced settings.
The Zulu Kingdom
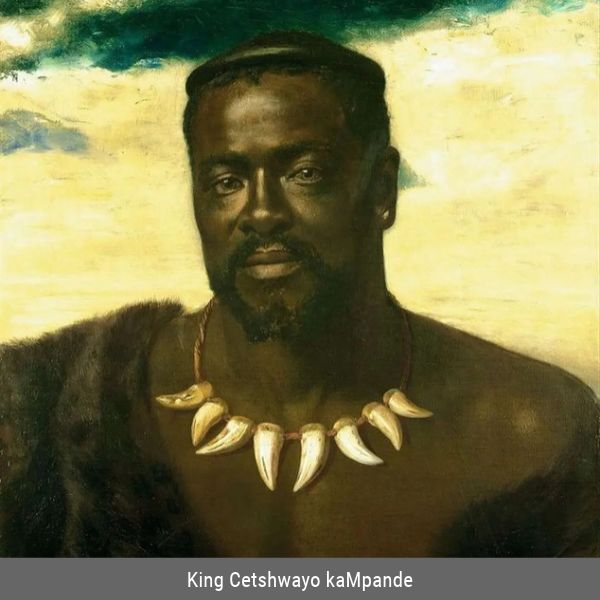
King Cetshwayo kaMpande: Ruler of the Zulu Kingdom. A capable statesman who sought diplomatic coexistence with the British, Cetshwayo strictly forbade his commanders from crossing the border into British Natal, fighting purely to defend his homeland.
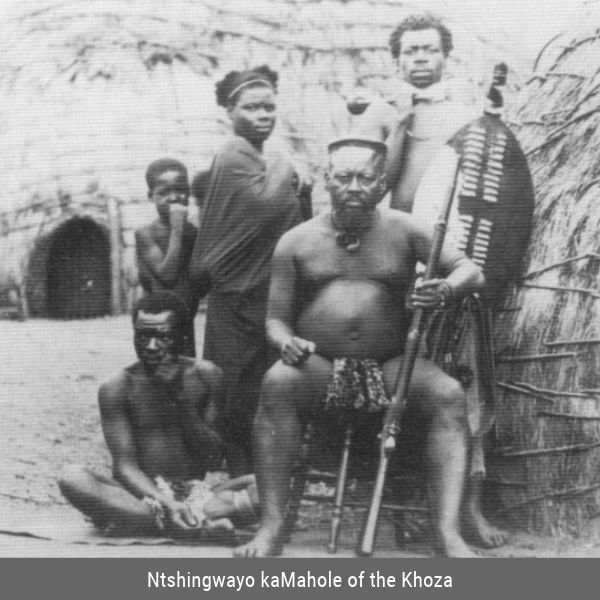
Inkosi Ntshingwayo kaMahole Khozab: The supreme commander of the Zulu army at Isandlwana. His brilliant tactical trap caught the British off-guard, securing an immortal victory.
Inkosi Ntshingwayo kaMahole Khozab: The supreme commander of the Zulu army at Isandlwana. His brilliant tactical trap caught the British off-guard, securing an immortal victory.
The British Empire
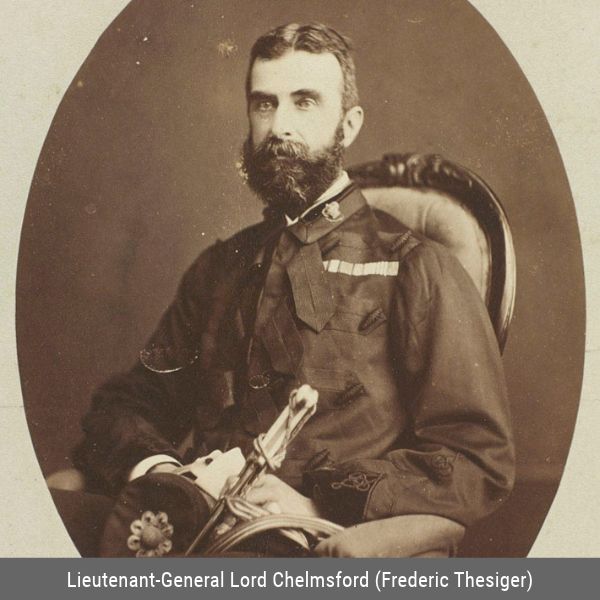
Lieutenant-General Lord Chelmsford (Frederic Thesiger):
Commander of British forces. Overconfident in modern firepower, he split his army and failed to entrench his camp, walking straight into disaster.
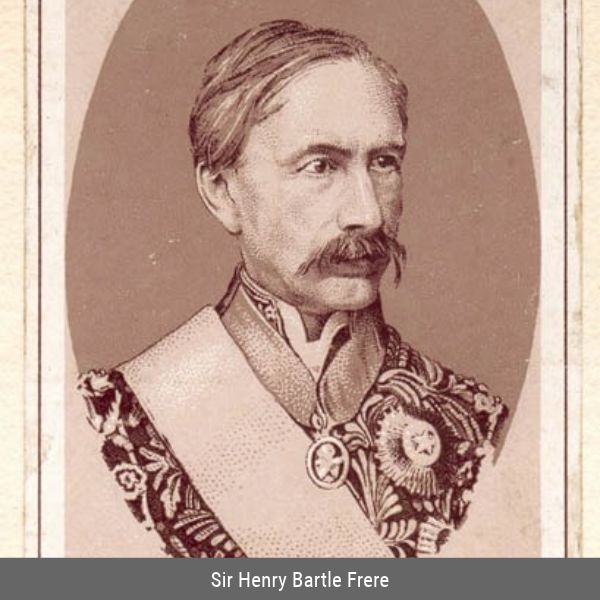
Sir Henry Bartle Frere:
The hawkish High Commissioner whose imperial ambition sparked the invasion.
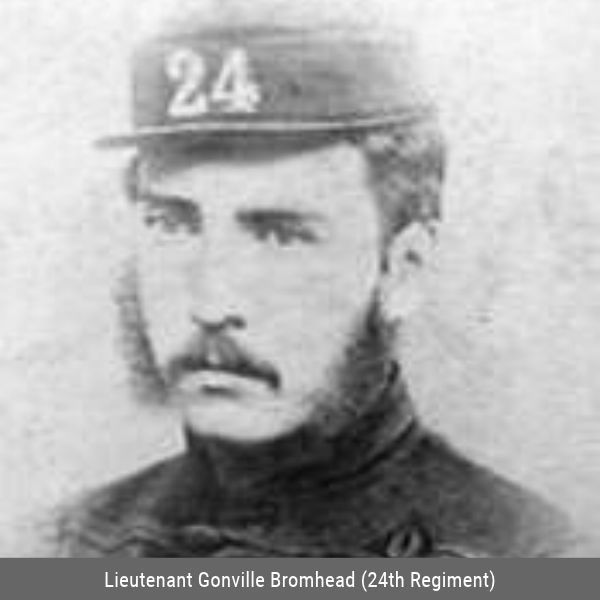
Lieutenants John Chard (Royal Engineers) & Gonville Bromhead (24th Regiment): Junior officers thrust into command during the desperate defence of the supply depot at Rorke’s Drift.
The Iconic Battles of the Zulu War
1. The Battle of Isandlwana (22 January 1879)
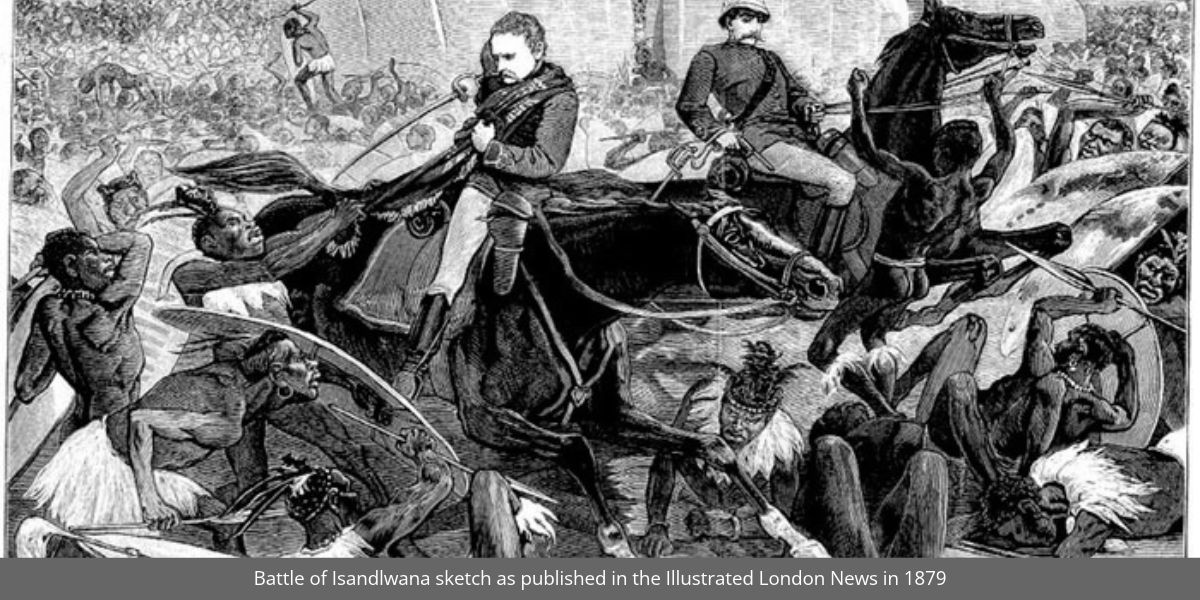
Believing the Zulu army was elsewhere, Lord Chelmsford took half his column out to scout, leaving his sprawling camp beneath the sphinx-shaped hill of Isandlwana unfortified and unlaagered.
Through masterclass stealth, Ntshingwayo concealed a 20,000-strong impi in a nearby ravine. When discovered by British cavalry, the Zulu regiments attacked using their famed "horns of the buffalo" formation (impondo zankomo): the "chest" engaged the British front, while the rapid left and right "horns" swept around the flanks to close the trap behind them.
Within two hours, the camp was completely overrun. More than 1,300 British and colonial soldiers were slain, shocking Victorian Britain to its core.
2. The Defense of Rorke’s Drift (22–23 January 1879)
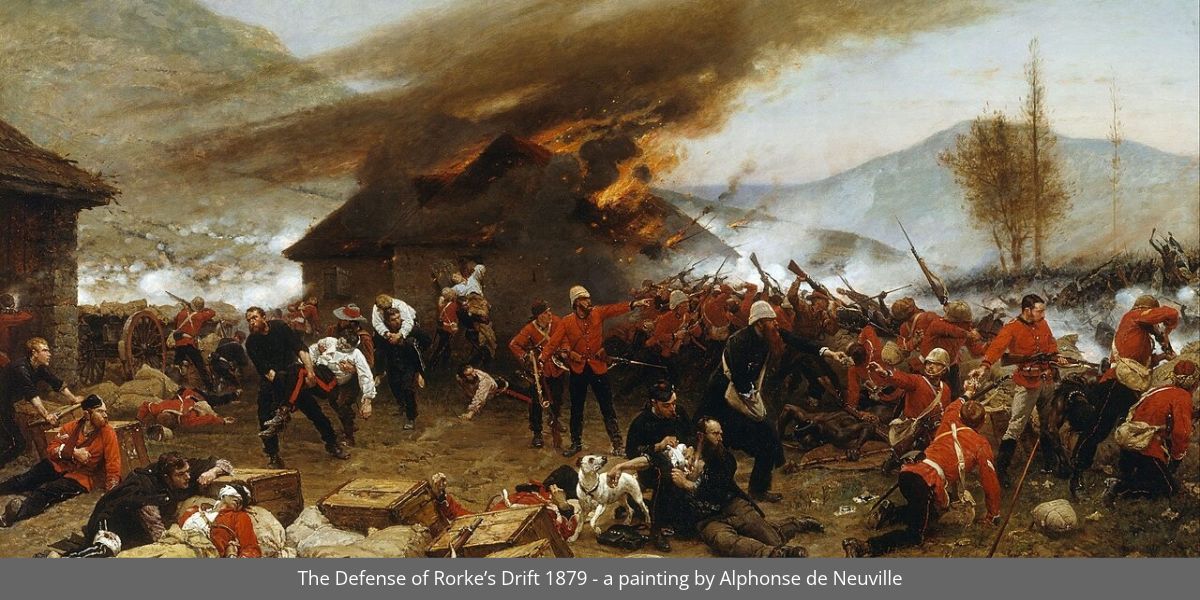
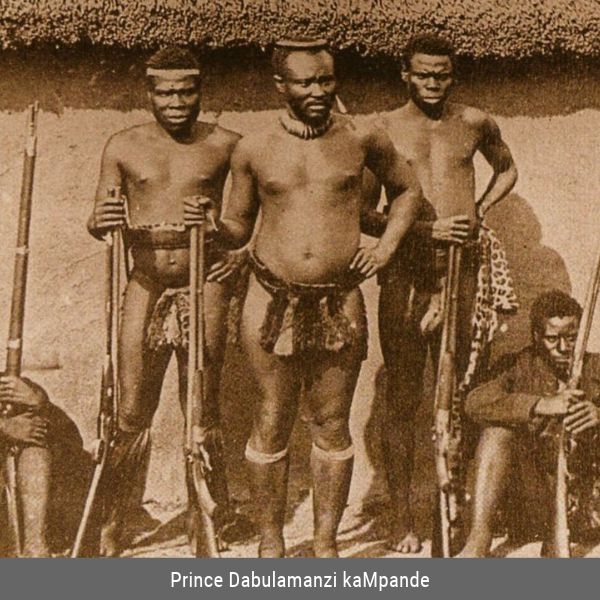
Just hours after the slaughter at Isandlwana, a reserve Zulu force of roughly 4,000 warriors under Prince Dabulamanzi crossed the Buffalo River to attack the small British border outpost and hospital at Rorke's Drift.
Around 150 British and colonial troops, led by Lieutenants Chard and Bromhead, fortified the perimeter with mealie bags and biscuit boxes. Across 10 hours of furious hand-to-hand combat in the dark, the defenders held the line. A record 11 Victoria Crosses were awarded for valour during the engagement.
3. The Turning Points: Khambula & Gingindlovu (March–April 1879)
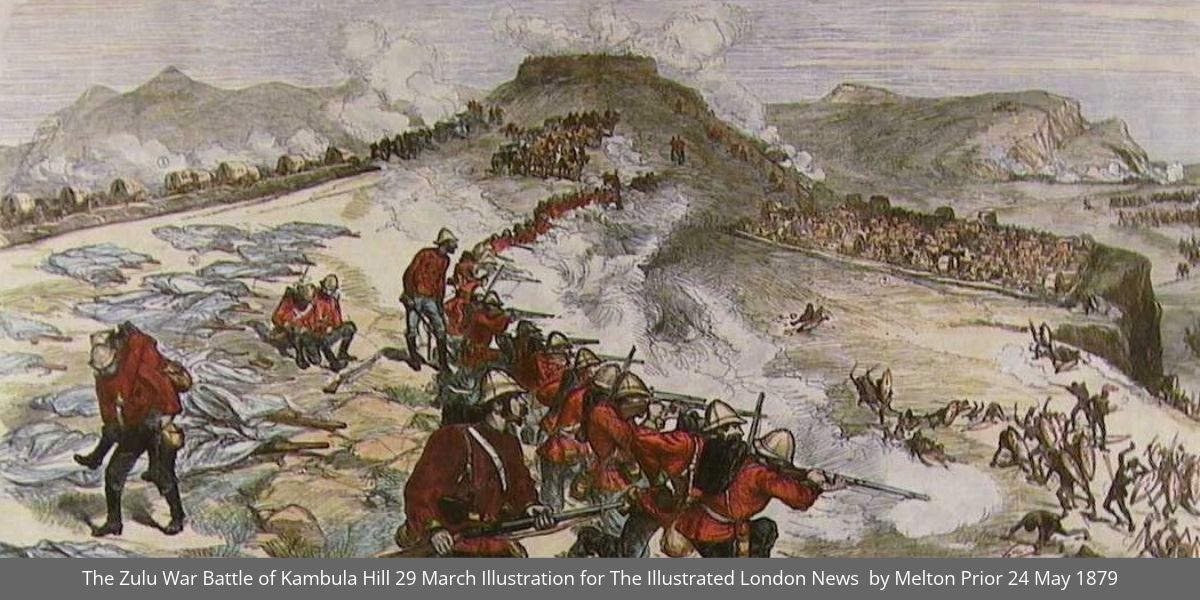
Following the initial disaster, British columns dug in. At Khambula (29 March), Colonel Evelyn Wood drew 20,000 Zulu warriors onto an entrenched wagon laager and artillery redoubt, breaking the offensive capability of the northern Zulu forces. Days later at Gingindlovu, Chelmsford relieved the besieged coastal garrison at Eshowe after delivering a crushing defensive defeat to another Zulu impi.
4. The Battle of Ulundi (4 July 1879)
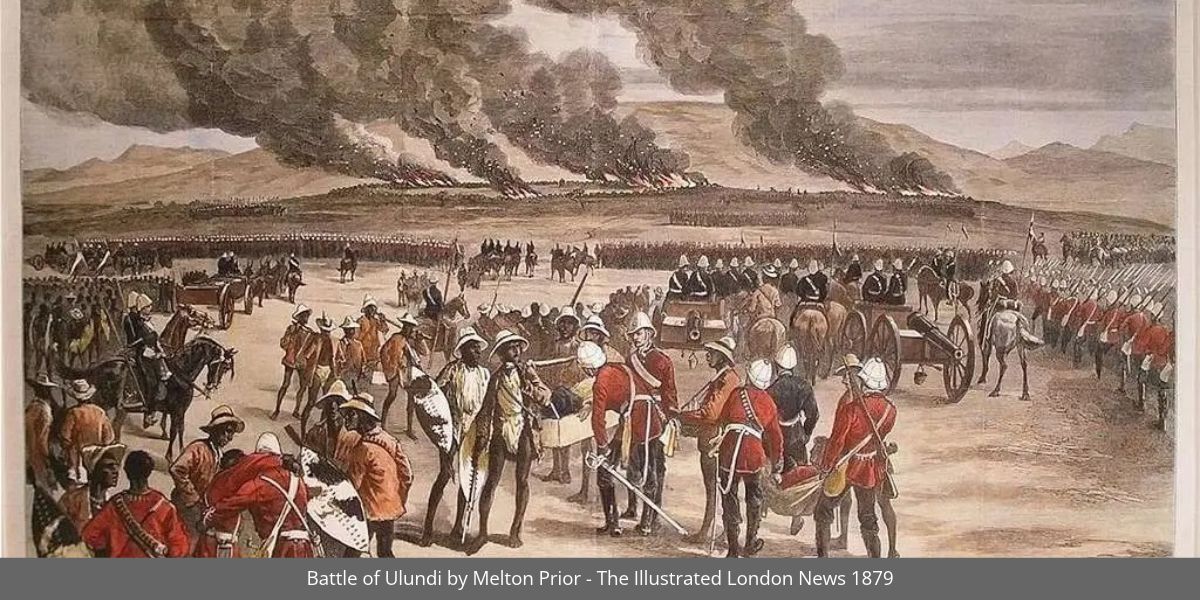
Reinforced with Gatling guns, fresh cavalry, and heavy artillery, Chelmsford advanced directly upon the royal capital of Ondini (Ulundi). Forming a massive infantry square, the British repelled the final charges of the royal regiments with devastating rifle volleys. The royal kraal was razed, and the war was effectively won.
Timeline of the Zulu War
The Ultimatum Expires
British forces under Lord Chelmsford cross the Buffalo River into Zululand in three separate invading columns.
Disaster at Isandlwana & Heroism at Rorke's Drift
The main Zulu army annihilates the British camp at Isandlwana. That evening, a small garrison at Rorke's Drift successfully defends their post through ten hours of fierce fighting.
The Tide Turns at Khambula
A fortified British wagon laager repels waves of Zulu attackers, inflicting severe losses and shifting the strategic momentum of the war.
Fall of the Kingdom at Ulundi
A fortified British infantry square shatters the Zulu regiments outside the royal capital, bringing an end to major hostilities.
Capture of King Cetshwayo
King Cetshwayo is captured in the Ngome Forest and exiled to Cape Town, leading to the division and eventual annexation of Zululand.
Walking the Anglo-Zulu War Grounds with Travel Prospects
Reading about the Zulu War on paper cannot compare to standing on the ground where it happened.
When you stand beneath the haunting shadow of Isandlwana, you realize how the topography hid an entire army in plain sight. When you pace the short distance between the hospital and the storehouse at Rorke’s Drift, the claustrophobic intensity of the siege becomes startlingly real.
Join David and the Travel Prospects team as we journey through KwaZulu-Natal with expert local battlefield historians who bring every charge, bugle call, and Zulu war cry vividly to life.
Interested in joining David's upcoming South Africa Battlefield Tour?
Spaces are strictly limited to ensure an intimate, immersive group experience. Contact Travel Prospects today to secure your tour brochure and full itinerary details.